|
Who doesn’t love sage? The piney, peppery taste, soft color and feel, and decidedly fall vibe make this herb my top pick to kick off my new herb series! Let me take you on a tour of all things sage…it’s history, tips to grow your own, and inspiration for how to use it all season long (and not on your turkey)! Salvia is the botanical genus name for a group of sage varieties. I use common sage, salvia officinalis, in these examples, but you can use other (edible) varieties too. Salvia comes from the latin word salvere, meaning "to be saved," and has been used medicinally for centuries. In the middle ages people used to say, "Why should a man die when sage grows in his garden?" Sage was used to fight all types of infections and ailments, particularly tooth decay, colds, hot flashes, and even sweat. Sipping sage tea was an early form of deodorant! Today sage is still used medicinally by herbalist and is also recognized as a good source of vitamin K, which supports blood and bone health. Grow 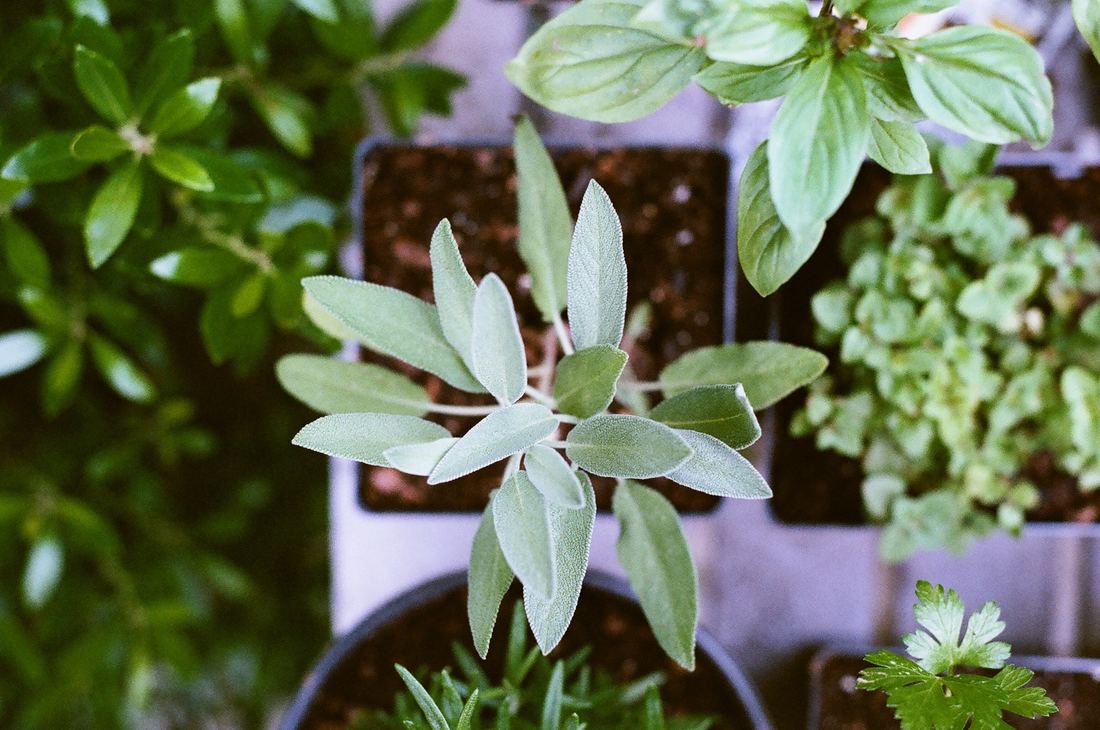 This hearty, drought-tolerant and forgiving herb is easy to grow indoors or out. Here are the basics to start growing sage yourself: Start with: Plants. Seeds are tricky to start. Variety: There are many varieties to choose from. For cooking, start with common sage and then branch out to tricolor sage, pineapple sage and all the rest. Ambitious? Pick 3 and grow a variety pot or patch. Soil: Needs well-draining soil. Sun/Light: Sage does best in full sun, but can be grown indoors if it gets a lot of light near a window. Water: Sage is drought tolerant and doesn’t like to have wet feet (roots). Water thoroughly and let dry between waterings. Harvest: To encourage growth and preserve herbal oils, in the morning clip just above a bud, where two leaves meet. Cold: A hearty perennial, sage is cold tolerant, will last through late fall and come back year after year outdoors in most zones. Make 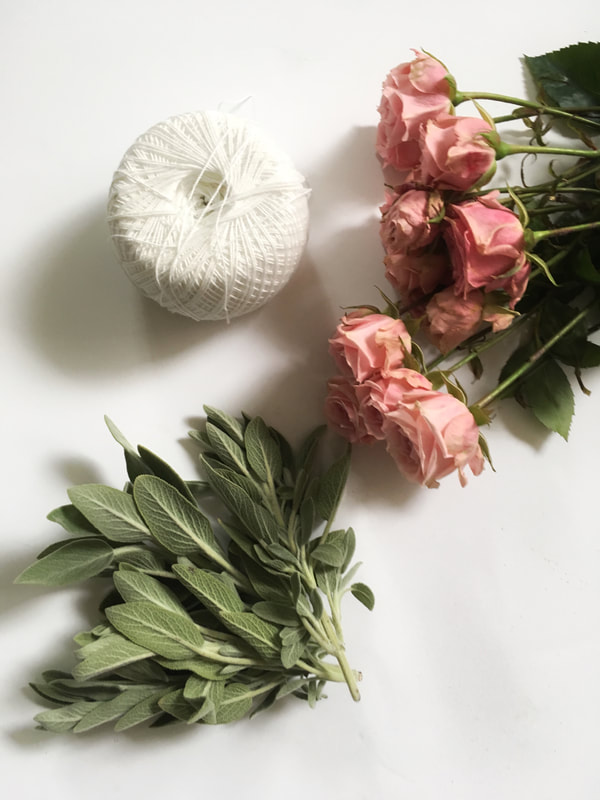 Lately I’ve seen sage smudge bundles everywhere! Between my recent trip to Massachusetes to do on-site florals for a retreat (you can read more about the trip here in the Found Beauty article), more than a few episodes of Grace and Frankie, and a lot of #witchy going on in my Instagram feed, sage sticks are having a moment. Have no idea what I’m talking about? Sage bundles, also known as "smudge sticks" are used for smudging. Smudging is an ancient practice of energy clearing. By burning what are considered sacred plants (and sage is at the top of this list), you clear away the stagnant or negative energetic gunk lingering around you, your home or environment. It’s like a #goodvibesonly reset stick. You can smudge after a big clean-out, before you start anything new in a space, or before a ceremony or holiday. New pre-Thanksgiving dinner tradition? I'll show you how to make your own sage stick with a little floral twist. Not into the spirit woo-woo stuff? That's okay! These are sweet, earthy florals you can dry to add a natural touch to your home for winter. They also make fun gifts for your boho-hippie friends this holiday season. Rosy Smudge Bundle What you’ll need: Mini roses (optional) Fresh Sage* String
Once your bundle is dry, you can use it to sage your space. The string may be loose after drying. Some people avoid the problem by drying the sage first or using rubber bands instead of string. You can play with these options or just re-tie if you have a loose bundle. How to smudge: Carefully light the leafy end of your sage stick. Blow out and wave the bundle and smoke around yourself, home or workspace with the intention of clearing away everything that's stale and stagnant. Always have a saucer (or traditionaly an abalone shell) nearby to catch embers and put out the bundle when you're finished. *Traditionally, bundles are made with white sage, but I used common sage here, which is a little easier to find at the grocery store, in your garden, or farmer’s market. It still works for clearing. Sip 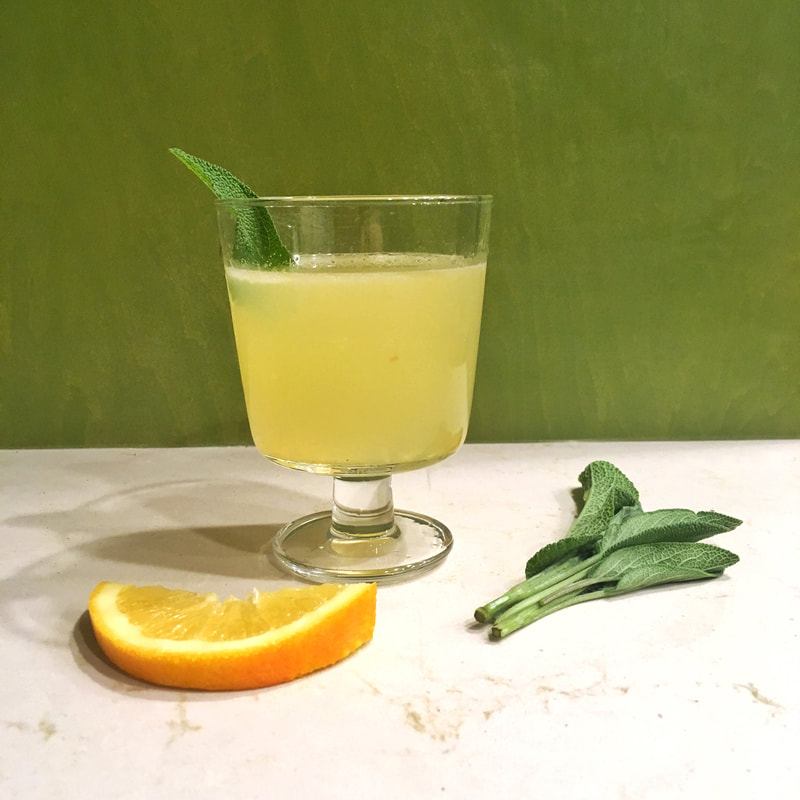 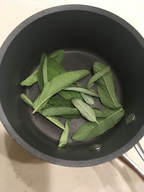 With it’s piney taste, sage is ideal for late fall and winter cocktails! I came up with this sage-y twist on the prohibition era Bee’s Knees. Sage and lemon forward, it’s somehow summery and wintery at the same time, just like my home town San Diego this time of year. Give it a try and let me know what you think! Don't drink? Skip the alcohol and you’ll have a tasty winter lemonade. The Sage Bee What you need for 1 cocktail: 2 oz honey sage syrup (recipe below) 1.05 oz. gin .75 oz fresh lemon juice .25 oz fresh orange juice Splash Belle de Brillet (I used this pear and cognac combo, but you can play with other liquors) Combine ingredients in a shaker with ice. Shake! Strain and garnish. Honey Sage Syrup 1 cup water 3 tablespoons honey (local, raw is the best!) 10 sage leaves Combine ingredients in a small saucepan over medium high heat. Once honey dissolves, reduce to a low simmer and let simmer for 20 minutes. Let cool. Makes enough for 4 cocktails. Have a question about growing or using sage? Let me know in the comments below!
0 Comments
Leave a Reply. |
go to recent articles:
Found Beauty: Floral Foraging for Beginners
Sage 3 Ways: Grow + Make + Sip 10 Plants to Re-wild your Desk 
meet me

Hi I'm Leelee! I'm a botanical artist, educator and owner of Leelee's Garden. I host pop-up plant and flower workshops around the country, do design projects, and share botanical tidbits in my newsletter once or twice a month.
Photo by: Paco and Betty |