Leelee's Garden
  • Home
  • Flowers
  • Workshop Calendar
    • Tropical Terrarium Workshop
  • Offerings
  • About
  • Contact
  • Blog
  • Privacy Policy

Create your own Floral Lantern

5/13/2017

0 Comments

 
​Wow, this week we’ve done a bit of everything…cards, terrariums, and craft cocktails. What I’ve enjoyed most about this Mother’s Day DIY series is making projects I’ve been meaning to try and sharing them with you! Today’s is another project I’ve been wanting to do for a while. I’m finishing up the week with two floral projects. Mother’s Day is one of the biggest florist holidays. Why not try your hand at making your own florals for mom this year?
 
Today I’m sharing floral lanterns! These make such unique centerpieces and would work for a mother’s day gift, girl’s brunch, summer dinner outdoors, or even a diy wedding. What’s fun about this project is that you can change up what you put inside your lanterns based on the season and availability. 
Picture
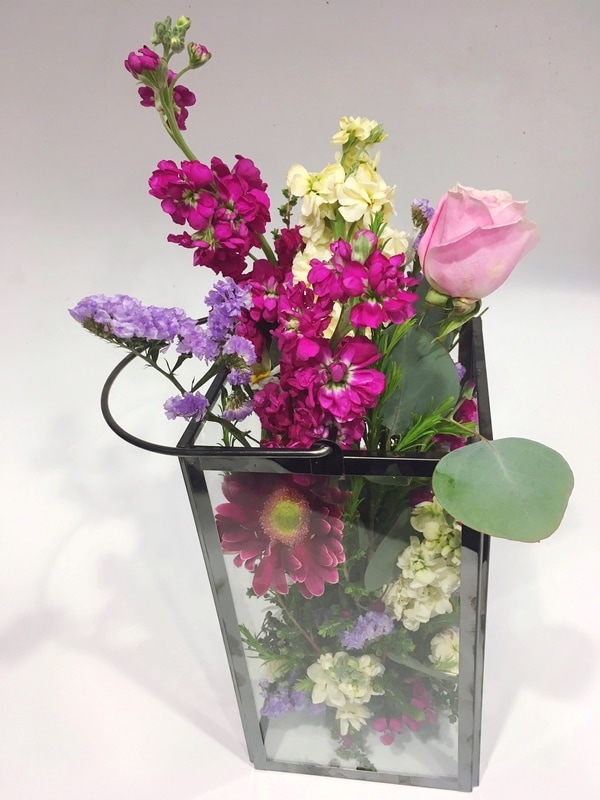
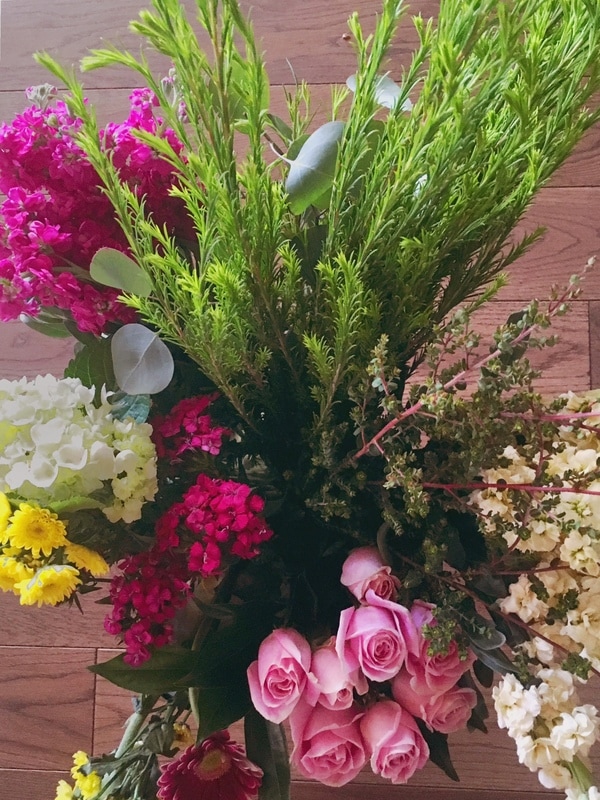
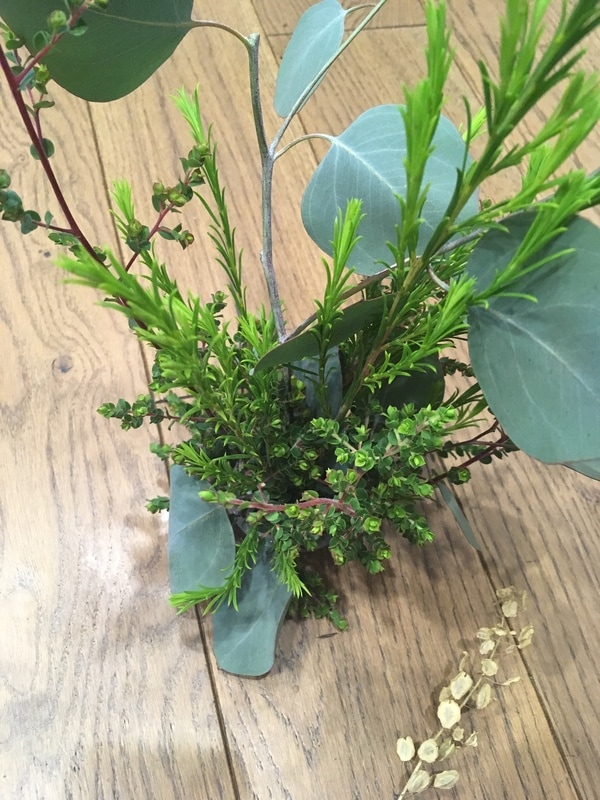
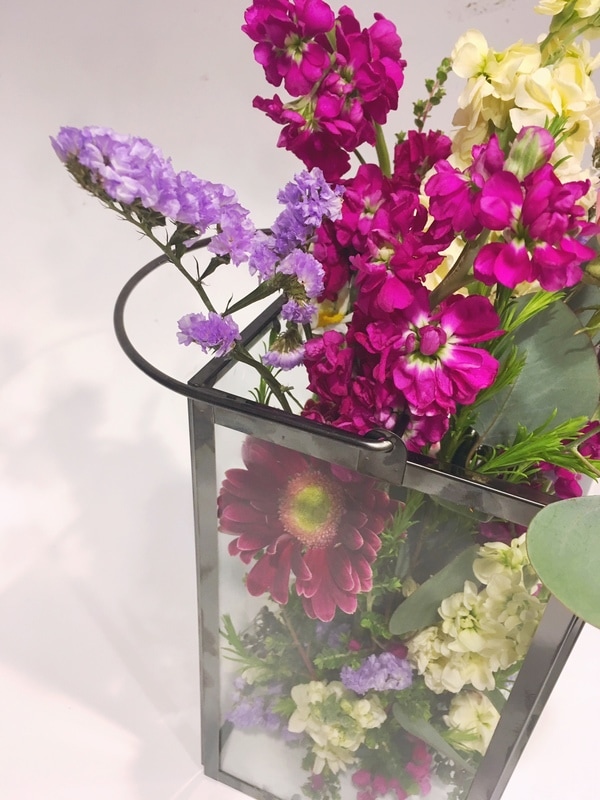
What you need:
Glass Lantern
Iglu floral foam and holder that fits easily in lantern (wet foam like oasis)
Floral preservative (optional)
Assortment of flowers (here I used white and magenta stock, white daisies, a magenta gerbera daisy, statice, and a couple pink roses)
Assortment of greens
 
  1. Soak the foam and holder in a bowl of water with floral preservative.
  2. Place foam in lantern to gauge the size of the arrangement. In my case, I chose to design out an inch around the sides and upwards beyond the container. The size you go for is up to you, but keep it in mind as you design.
  3. Remove foam from lantern. You’ll design outside of the container.
  4. Add greens first to create the overall shape of the arrangement and cover the foam and holder. Aim to cover most of the floral foam, especially around the bottom sides. You don’t want to see much of the foam holder. You’ll need to cut short 1-2” pieces as well as long pieces to create the overall shape. Cut greens, take off any bottom leaves and press into foam. Try not to rearrange (will help you avoid getting the “swiss cheese” effect of large holes in foam that don’t hold flowers well).
  5. Add flowers. Since you’re making an all around arrangement, add flowers and turn the whole design. Add more flowers and turn again. The idea with this one is a wild botanical look, so it doesn’t have to be precise. Add what looks good to you, a mix of colors, shapes and sizes. The main design guideline is the size. Try to keep the design in the shape you planned in step 2. As you add flowers, be sure to take off any undesired leaves (I do this with daisies) and leaves on sections of stems that will go into foam.
  6. Gently lower arrangement into lantern. You may need to adjust blooms so they face out.
  7. Admire your first floral lantern!
Interested in this project, but don’t want to try it solo? I’m going to start offering this floral lantern project as a workshop this summer. Check out our public events or book a private party!
0 Comments


Leave a Reply.

    go to recent articles:
    Found Beauty: Floral Foraging for Beginners

    Sage 3 Ways:
    Grow + Make + Sip

    10 Plants to Re-wild your Desk

    Picture
      ​Don't miss a blog.
      Subscribe to receive our free newsletter delivered to your inbox, plus special invitations and updates.
    SIGN ME UP

    meet me
    Picture
    Hi I'm Leelee! I'm a botanical artist, educator and owner of Leelee's Garden. I host pop-up plant and flower workshops around the country, do design projects, and share botanical tidbits in my newsletter once or twice a month.
    ​
    Photo by: Paco and Betty

Home

PRIVACY POLICY

About

Contact

COPYWRIGHT © 2022
  • Home
  • Flowers
  • Workshop Calendar
    • Tropical Terrarium Workshop
  • Offerings
  • About
  • Contact
  • Blog
  • Privacy Policy